If you are flying FPV drones, at one point or another, you will inevitably face video quality problem. Fret not! I’ve compiled 7 tricks that you can do to improve FPV video quality.
The importance of the video feed is pretty much unquestionable in FPV drones. It is what defines FPV. As such, knowing how to optimize your drone’s video quality is a must have for all FPV pilots. Let’s jump straight into the tricks.

Choosing the Right Antenna
Perhaps the most important component in your FPV setup that you could optimize is your antenna.
Antennas can be linearly polarized (LP) or circularly polarized (CP). Both can also be directional or omnidirectional. For circularly polarized antennas, there is handedness to consider: either right-handed (RHCP) or left-handed (LHCP). Confusing, right?
As a general rule of thumb, the antennas on your drone and your video receiver (goggles) must have the same polarization and handedness for the best reception.
Always use circularly polarized antennas if you want the best video quality in racing or freestyle. If you fly long range, you might want to use linearly polarized antennas to maximize your range. However, you will need to have a diversity system on your video receiver.
If you are using antennas with different handedness than other pilots when flying in a group, you will also experience the least interference on your video.
What about the direction? Imagine this, a directional antenna is like a torch light, while an omnidirectional antenna is like a light bulb. A torch light can shine very far, but only at the direction it is pointed towards; meanwhile, a light bulb shines towards all directions, but the light doesn’t travel as far.
When flying long range, it is a good idea to use directional and linear polarized antennas on both your drone and your goggle, because that gives you a better range than omnidirectional antennas. Moreover, you won’t have the alignment issue with LP antenna because you can easily position yourself so that you are always facing the drone.
If you are flying freestyle or racing, you probably want to use an omnidirectional antenna on your drone because the drones constantly change directions. On your goggle, you can use a directional antenna if you can constantly keep your head up, facing the drone.
| Antenna | Pros | Cons |
|---|---|---|
| Omnidirectional | Wide angle coverage | Shorter range |
| Directional | Longer range | Narrow coverage |
| Circularly Polarized | Lesser interference | Shorter range |
| Linearly Polarized | Longer range | More interference. Works best if both antennas are aligned |
Best Antennas for FPV Drones
Circularly Polarized Omnidirectional
Xilo Axii
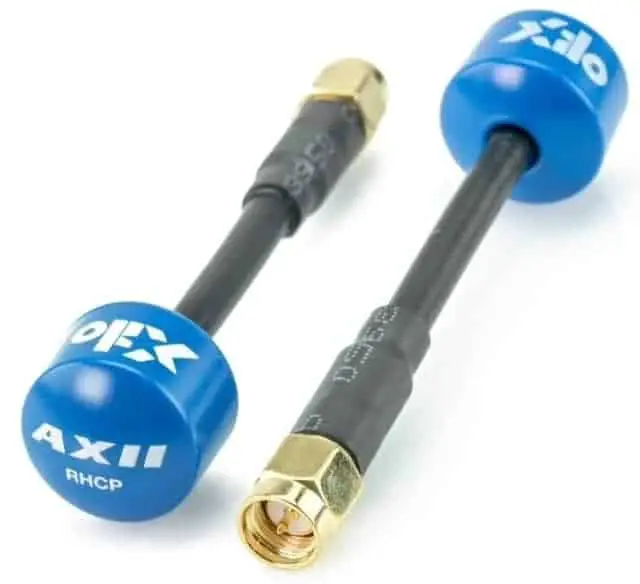
I strongly recommend Xilo Axii because of its good quality at an affordable cost. The Xilo Axii is a circularly polarized, omnidirectional antenna with near perfect axial ratio which means you will experience the least multipathing issue with this antenna.
It has 1.6 dbi gain, which is ideal for racing or freestyle as it covers a wider range while not losing the required signal penetration. Make sure you buy the correct variant that fits your VTX/VRX connector.
It seems like Xilo Axii is exactly the same as Lumenier Axii, which is a more premium brand. You might encounter Lumenier Axii selling at the same price as Xilo Axii during a promotion or in a bundled deal. If you see that, grab it!
Circularly Polarized Directional
Lumenier Axii Duo Patch
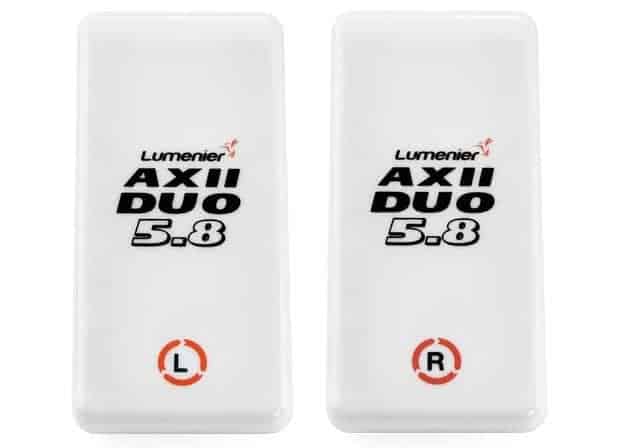
The Lumenier Axii Duo Patch is a directional, circularly polarized antenna ideal for your goggle’s diversity system. It has a beam width of 80° horizontally and 40° vertically, which is good enough to cover your drone in most scenarios. It comes with SMA connector which fits both TBS Fusion and Eachine Pro58 recommended earlier.
Unless you are flying only long range, you should use the Axii Duo Patch together with an omnidirectional antenna for better signal coverage.
If your budget is tight, consider the Lumenier Axii Patch. It has only 1 active element instead of 2 in the Duo Patch. So, do expect shorter range and narrower coverage. But it still gets the job done.
If you are interested in understanding more on how to choose the right antennas for your drone, refer to my guide on antennas here.
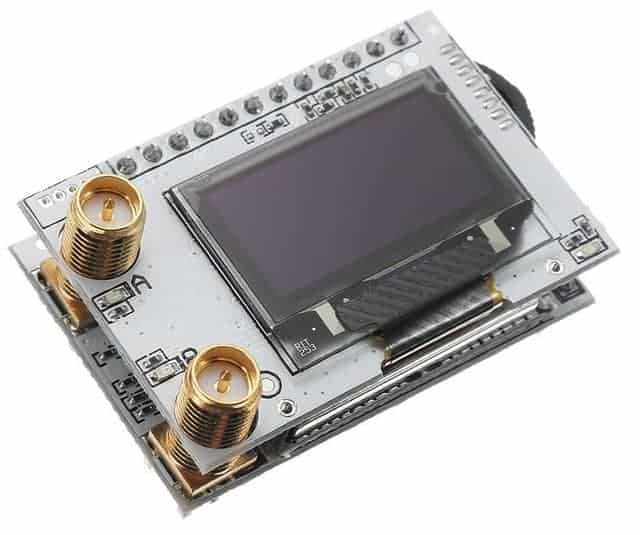
Use Diversity Receiver
A diversity receiver is a receiver that has 2 modules or more. Each module picks up the signal from your drone, and the system either merges the signals to improve its quality, or automatically switches between signal sources to give you a consistent, high quality video feed. This is sometimes called the “true diversity”.
Older generations of diversity receivers simply switch to the strongest signal. While it is done automatically and reasonably fast, there will be a momentary blank screen during the switch.
Newer generations of diversity receivers such as TBS Fusion, ImmersionRC rapidFIRE, or Skyzone’s SteadyView, combine the signals from 2 sources to create an even better quality video. Some of them also have sync pulse reconstruction technology to prevent the video from tearing when the signal is low.
There is another type of diversity called antenna diversity. A receiver with antenna diversity can connect to 2 or more antennas. That means you can have both directional and omnidirectional antennas on your goggles for better video quality. That results in both overall wide angle coverage at short range, and a narrow but long range coverage.
While antenna diversity is not as good as receiver diversity, it is still better than no diversity.
Best Diversity Receiver for FPV Drones
Top of the Line – TBS Fusion
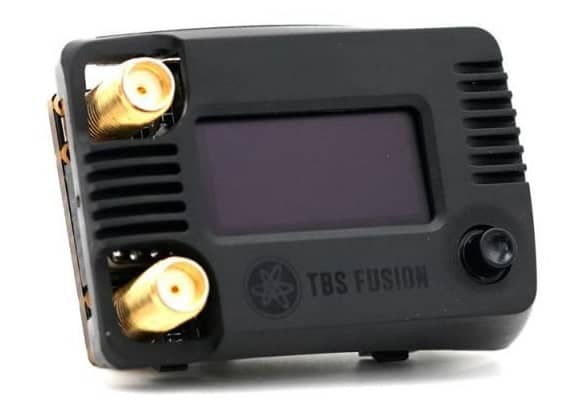
Aside from the expected quality, the additional benefits from using TBS Fusion is the integration with its Unify VTX that allows interesting functionalities such as adjusting the power output of your VTX automatically in response to the change in RSSI (signal strength), automatically aligning the channels of your VRX and VTX.
If you use TBS VTX, you should get TBS Fusion to enjoy the features in TBS ecosystem.
If you crash your drone and can’t find it, the TBS Fusion can act like a radar to help you locate your drone through the signal strength. It also has a lap timer feature which allows you to time your lap. No more manual timer or additional lap timer required!
Top of the Line – ImmersionRC RapidFIRE

RapidFIRE used to beat TBS Fusion in the space of VRX, until TBS Fusion V2 is out in the market.
Priced slightly higher than TBS Fusion, RapidFIRE is on par with its competitor. If you find RapidFIRE selling at a lower price than TBS Fusion, you might want to get it.
Budget Build – Eachine Pro58
If you are not ready for the pricey TBS Fusion, consider Eachine Pro58. The Eachine Pro58 is a super affordable diversity receiver.
Consider getting the Achilles mod to unlock more potentials such as lap timer, crashed drone searching, frequency optimization and many more from this budget receiver module.
BEC-powered Video System
Many VTX can be powered directly from the LiPo battery through a direct connection. While the direct power from the LiPo is good enough to operate the VTX, it is not “refined” enough to provide a consistent voltage flow, which would affect the quality of the video feed.
The voltage supplied by the LiPo fluctuates as you accelerate or make a sudden change of directions. With the sudden spike or drop in voltage experienced in your VTX, the video received by your goggles is integrated with some type of “noise” or disturbance that appears gritty or full of lines.
A Battery Elimination Circuit (also known as BEC or a voltage regulator) is designed to convert the main source’s power output to a lower, more refined voltage that addresses the issue of both compatibility and quality. It is usually available in most FC. By powering your VTX via the BEC, you can reduce the severity of noises in your video.
The same applies to the camera. Always power up your camera via BEC on the FC or VTX to eliminate possible noises.
Install Low ESR Capacitors
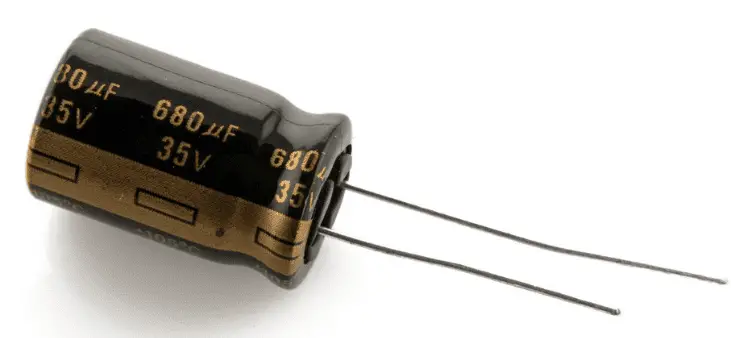
Low ESR capacitors are a variation of various capacitors available in the market. ESR stands for Equivalent Series Resistance. In a sense, the low ESR variation is better for our purpose because it has better filtering capabilities, making the quality even sharper than those produced by conventional capacitors.
You can add capacitors to refine the voltage running through the drone. When there is a spike in voltage, the capacitor picks up the excess voltage; when there is a dip, the capacitor releases its charge to level the voltage. This will reduce the amount of noise that interferes with the production of a crystal clear video feed.
Think of it this way: when you have clothes that are extremely creased and folded in indelicate places, the appearance of the entire thing seems far off from its original appeal. However, when the iron is used, these creases are flattened and the image is now more pleasant – much like how the video feed quality is refined when capacitors are used.
There are a few places where you can install the capacitors. Many people would install it at the ESC battery connector pad. You can also install the capacitor on the BEC used to power up the VTX.
Overall, adding capacitors reduces the noise in your feed, prevents corruption of your motor and ESC signals, improves your flight experience, and generally prevents the risk of damages associated with voltage spikes. That’s quite a few birds killed with 1 stone.
Make sure your capacitors have higher voltage ratings than your LiPo batteries. For a start, use at least a 35 V capacitor.
Using an LC Filter
LC filters are, well, power filters, just like capacitors. It consists of an inductor that prevents changes to the current that is passing through, and a capacitor that resists changes to the voltage that is passing through.
In a sense, the LC filter is both different and similar to capacitors in the way that it works, functions, and improves the overall quality of the video feed being transmitted to the corresponding FPV goggles.
To start, both LC filter and capacitor are aimed at improving the video quality of the feed being provided by your cameras through noise reduction, albeit they perform this in two different ways.
Capacitors are mainly used to reduce noise from the power source itself by allowing a consistent stream of voltage to pass through. LC Filters, on the other hand, lean more towards reducing the noises that have already formed, instead of addressing the root.
Many FC already have built-in LC filters for their BEC. Hence, you might not need to add an additional LC filter.
If there is no built-in LC filter on your FC, consider adding one by yourself. Pay attention to the current rating of the LC filter to match the needs of your components. Having both capacitors and LC filters would greatly improve your video feed quality by removing most, if not all noises.
Extra Grounding
Having extra grounds not only improves the video quality by removing the lines, it also helps to eliminate flickering OSD issues. In a layman’s term, the additional grounding allows the electricity to disperse faster, so that the electrons wouldn’t build up and create electromagnetic interference to your video system.
Depending on how you hook up the VTX and camera, there are a few locations that you can solder the extra grounds:
- ESC battery pad to FC
- FC to VTX
- FC to camera
- VTX to camera
For instance, if you power up your camera from your VTX and already have a ground to your VTX, add an additional ground from the camera to your FC’s UART ground pad. For more details, you can refer to the great video below by ScooterPie.
Investing in A Ground Station
A ground station is a good way to lessen the load on your goggles and provide a dedicated FPV setup that is specialized only to receive the video feed from your drone’s camera.
A ground station is relatively easy to set up. You need have to have a receiver connected to its independent power supply. Mount the receive on a stand or tripod, and then connect it to your goggles or screen (or both through a split video-out wire) to start receiving the feed from the drone’s camera.
With such a setup, you could opt for receivers that might not be portable enough to fit within your goggle. This allows the provision of better video quality, without making the entire FPV setup too heavy or bulky to wear. Besides that, the tripod adds extra heights to your antennas. That reduces obstacles between your drone and receivers, and hence improving the video feed.
You can also use the ground stations to tap on lower frequency channels, which have better reception due to fewer interferences. Lower frequency radio requires bigger antennas. With a ground station, you won’t need to wear big dangling antennas to utilize lower frequencies.
Consider Going Digital
If everything you have done has already improved your video feed but yet it is still not up to your expectations especially in terms of resolution, it’s time to go digital (check out the differences between digital and analog FPV).
At the moment of writing, digital FPV is still rather new, bulky, and expensive. You need to upgrade your VTX, camera, and goggles for digital FPV. So, the total cost will be quite high. It is a good investment to make though, especially if video quality is paramount to you.
Seeing Clearly at This Point?
The impact that video quality has on the overall performance of your drone is perhaps one of the most critical ones. Not only does it define what FPV is, it is also crucial as a matter of safety for your drone and other people within the vicinity. I hope that the above tricks have helped you to improve your FPV feed and let you enjoy your flight better!
Additional Information
Bad FPV Quality when Flying in Group
If you encounter bad video feeds, such as seeing other pilots’ videos or frozen screens when flying in a group, you should be optimizing the VTX channel used by each pilot instead.